Category Archives: Food // Japanese

Making of Budaejjigae ( Korean Army Stew )

Mascot and I were fans of korean food having stayed in Korea for some time when we were still in school ( actually, i still are ). He had this sudden craving of army stew (actually been craving it since we had bornga haha) and he’s rather insistent about it. A good decent pot of army stew cost around $40 – $50 in restaurants here not forgetting the 10% service charge and GST which has yet to be included. We are on a scrimp and save scheme since we need to make the downpayment for our BTO *heart shaped eyes* we couldnt really afford to indulge in our ‘live to eat’ moments. We would not deny ourselves the joy of eating so we decided to make our own!

Budgaejjieae or Army Stew as it is more commonly know originates during war times when food were scarce. Its like a hotpot korean style where you can find all sorts of ingredients in it, like throwing all the leftovers in and boil. You can actually throw in whatever you want but  Koreans in the past uses leftover food from the US Army so that explains the SPAM luncheon ( i loveeeee luncheon!! ), sausages and cheese that is found in all army stew.

Here we goooo….

Download the recipe here =>> Budgaejjigae ( Army Stew ) Recipe

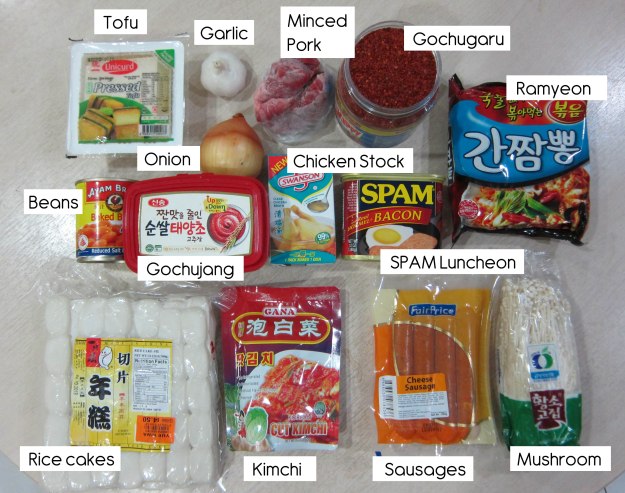
Ingredigents
5 cloves of garlic
1 onion
Minced pork (You could use beef or chicken as well)
750ml of chicken/anchovy stock
A can of beans
Half a can of SPAM (cuz a can is too much)
Some ricecake (Amt depends on your love for ricecakes)
Kimchi
Approx 3 sausages
Cheese slices (I use cheese sausages so i skip this, you could still add thou)
100g of Mushroom (I prefer golden mushroom to button mushrooms)
1 piece of tofu
A packet of ramyeon
Chrysanthemum leaves (couldnt find any at the market so i omitted & replaced with cabbage)
1 stalk of Leek (missed out in the picture)
2 stalk of spring onion (missed out in the picture)
Gochujang (Korean chili paste)
Gochuguru (Korean chili flakes)
1-2 teaspoon of Sesame oil

Ingredients we need

Ingredients we need

1.. Finely chopped the garlic.
Slice the onions, leek and spring onion.
Cut the sausages into smaller pieces
Slice and half the luncheon.

Ingredients Cuts

Ingredients Cuts

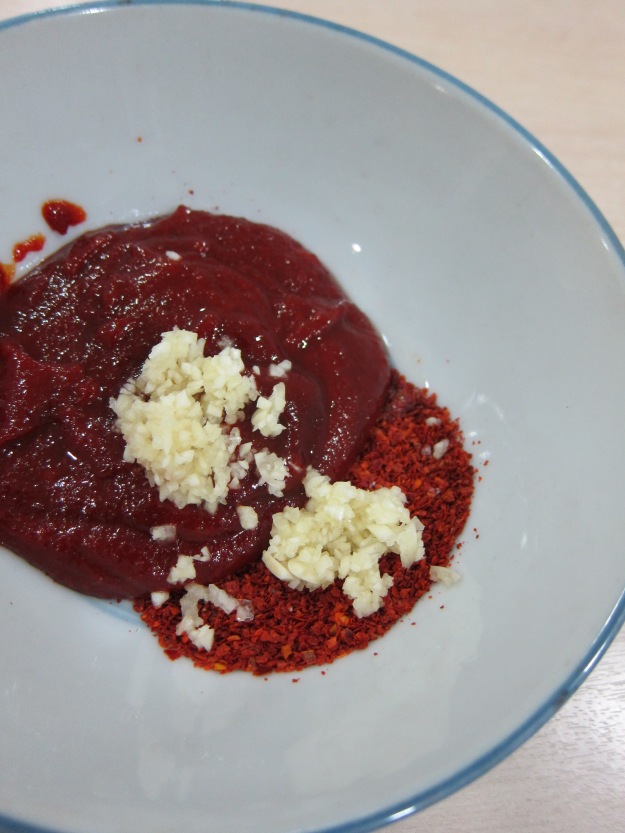
Now we make the soup base paste.

Soup base paste

Soup base paste

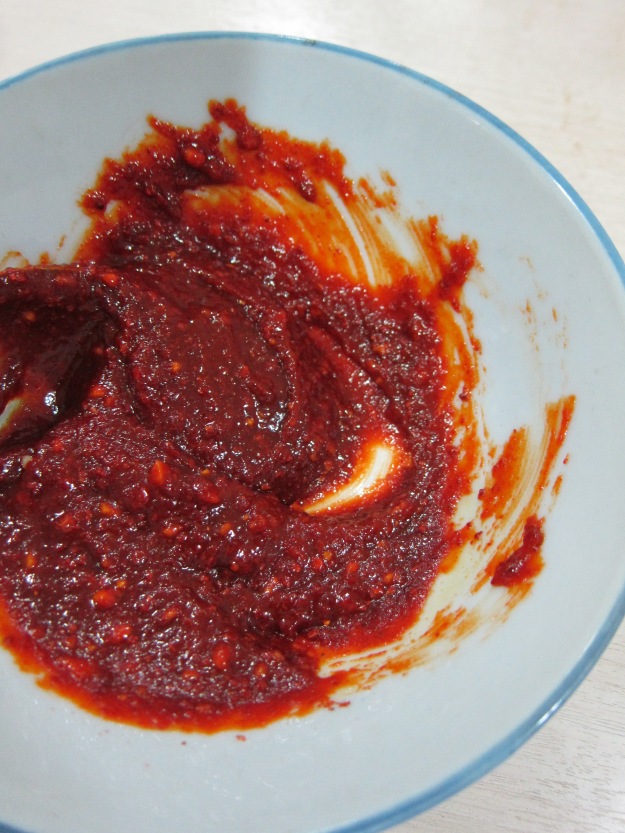
2..  Add 4 tablespoon of gochujang, 1 tablespoon of gochuguru, 1 teaspoon of finely chopped garlic and a dash of sesame oil and mix well.

Mixing the paste

Mixing the paste

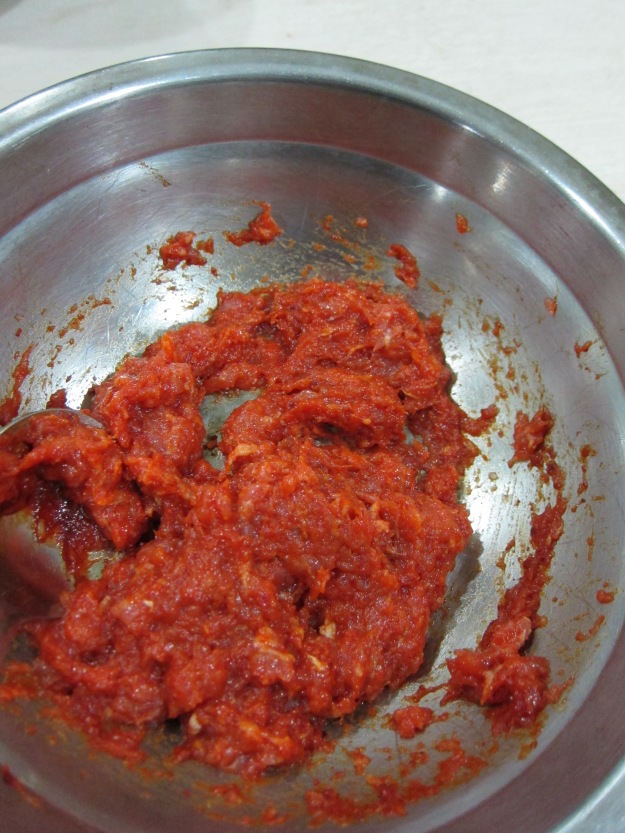
3. For the minced meat, marinade it with 1 tablespoon of gochujang. (do NOT minced it too much otherwise it will lose its texture and looks like paste below -.-)  Set aside.

Minced meat with gochujang

Minced meat with gochujang

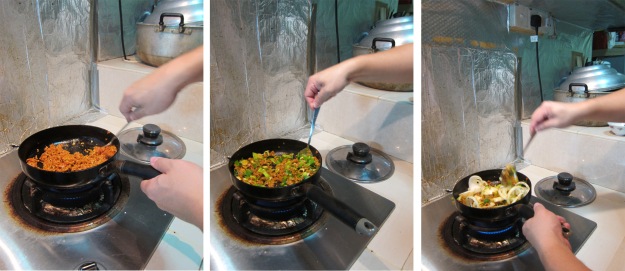
4. Heat up 2 tablespoon of cooking oil in a pan. Add in the remaining garlic, gochujang minced meat, leek, onions and kimchi. Stir fry until aromatic, this will help bring out the flavour. Scoop then up and as aside in the pot with all the ingredients.

Stir fry the ingredients to bring out the flavour

Stir fry the ingredients to bring out the flavour

Waiting for the soup base to be ready!

Waiting for the soup base to be ready!

IMG_2269

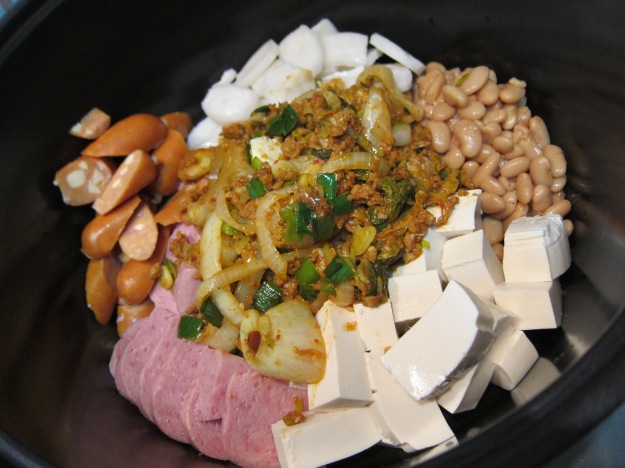
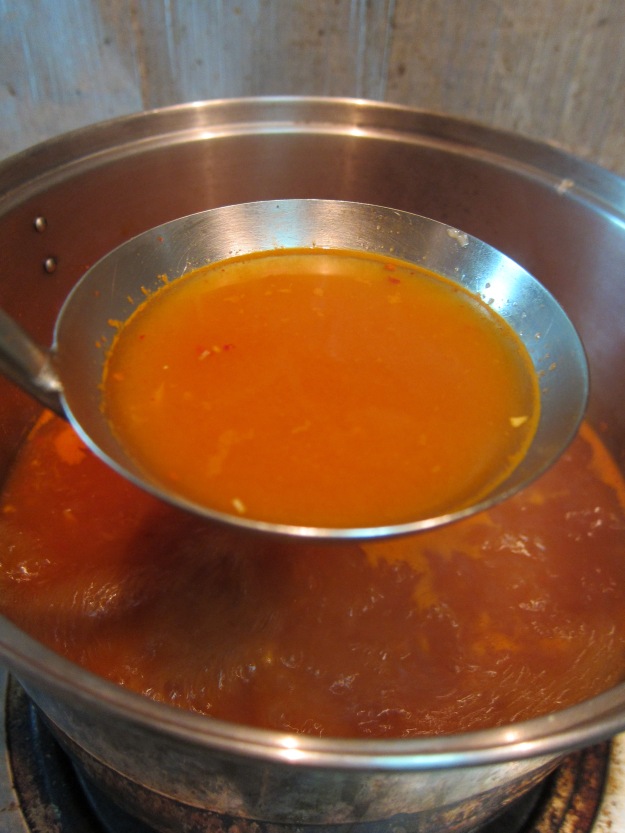
Here is a close up.

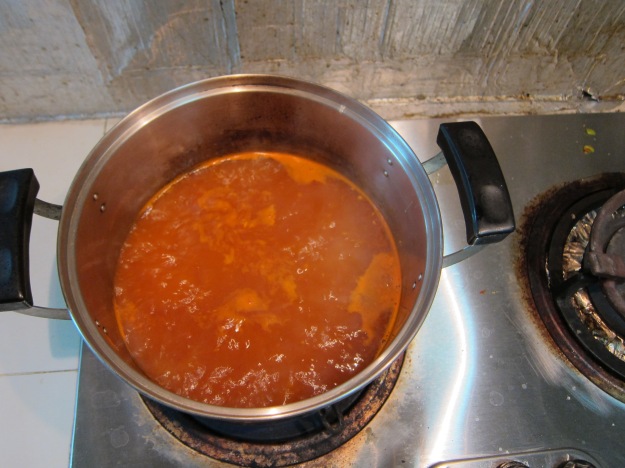
5. In another hot, heat up the broth. Add in the soup base paste when it boils. Add salt and sesame oil to taste. Should not add too much salt at this point as the soup will be saltier with the luncheon added in later.

The soup!

The soup!

IMG_2266

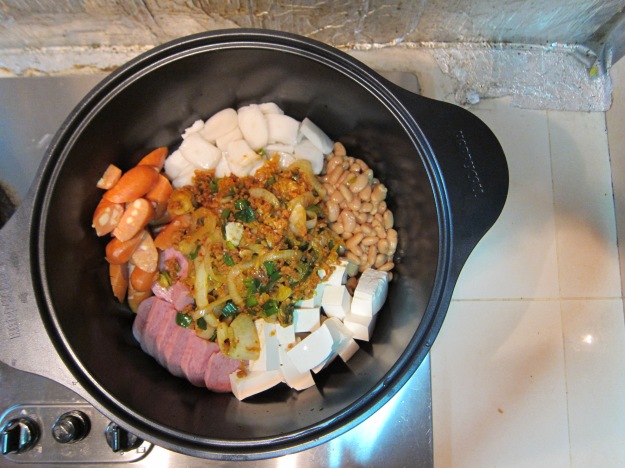
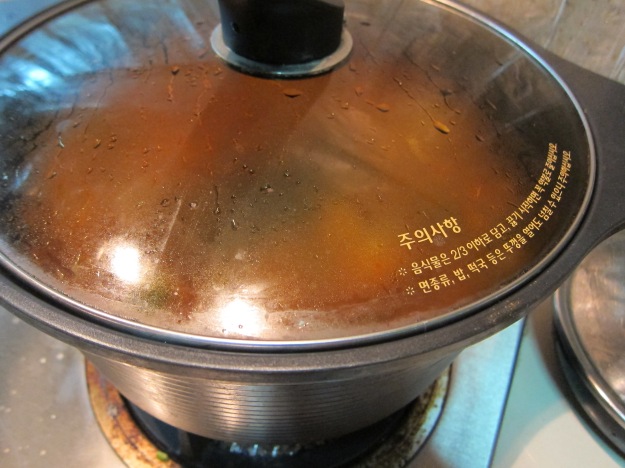
6. Add the soup to the ingredients pot and bring it to a simmer. Simmer for around 5-10 mins. ( I uses my favourite happycall pot! ^^)

Let it cook!

Let it cook!

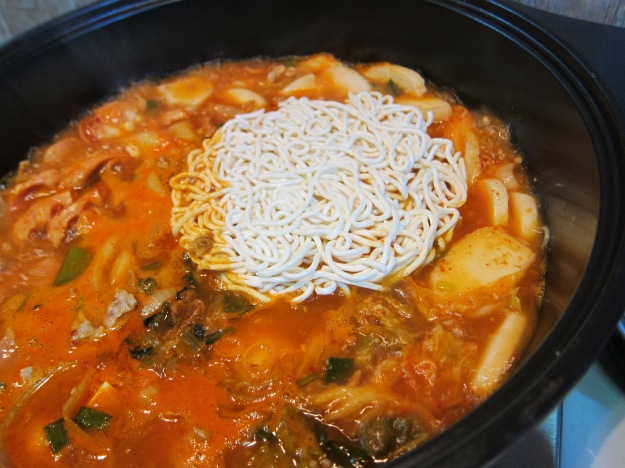
7. Add in ramyeon and cook for another 3-5 mins.

Lastly, the ramyeon!

Lastly, the ramyeon!

Note: you can add slice cheese at this point for that extra oomph. But cuz i am already using cheese sausage, i skipped this. Basically, its a leftover kinda dish so you are free to throw in whatever you want. haha.

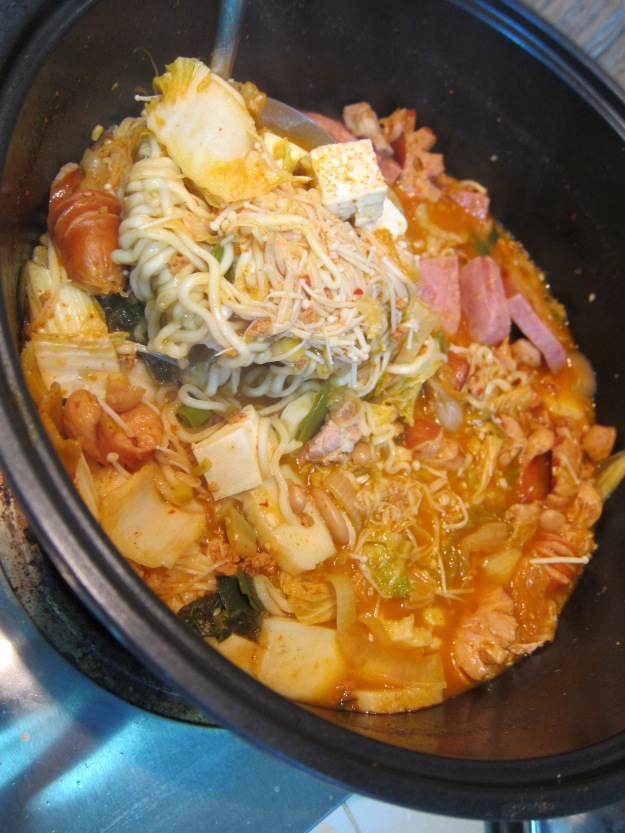
TADA!!

ITS READY TO BE EATEN!

ITS READY TO BE EATEN!

Looks delicious aint it! Great dish to cook when you have friends over! You can just whipped up a huge pot and everyone hussle around to noms together. Its taste is awesoomeee. And we only spend about 20ish dollars for all the ingredients including the huge container of gochujang and gochugaru. We can do it over and over again!

Happiness in my tummy now
*rubs tummy*

How to make your own ajitama // 味玉の作り方

I love ramen. More than that, I love that little egg that comes every bowl of the slurppy noodles – ajitama ( flavoured egg ). A well done ajitama could elevate the goodness of the ramen to the next level. Like a swordsman with his blade, the flavoured egg could really tell how meticulous the chef is with his cooking because the ajitama is made not in one day but three days! And the precision in getting the eggs out of the boiling water into the ice water dictates how runny the yolk is. We are not making hard boiled eggs here. A perfect ajitama when sliced open, flows a yellow river and each bite, you can savour the aroma of the marinate.

So I set out to make my own flavoured egg armed with recipes from
here, here and there.
http://www1.odn.ne.jp/t-hair/ramen/2/nitamago.htm
http://cookpad.com/recipe/395627
http://note.chiebukuro.yahoo.co.jp/detail/n30671
http://ramenwalker.blogspot.sg/2010/08/making-ajitama.html

With a little twist and modifications, let the show begin!

Download my recipe here =>> Ajitama Recipe.

Ingredigents
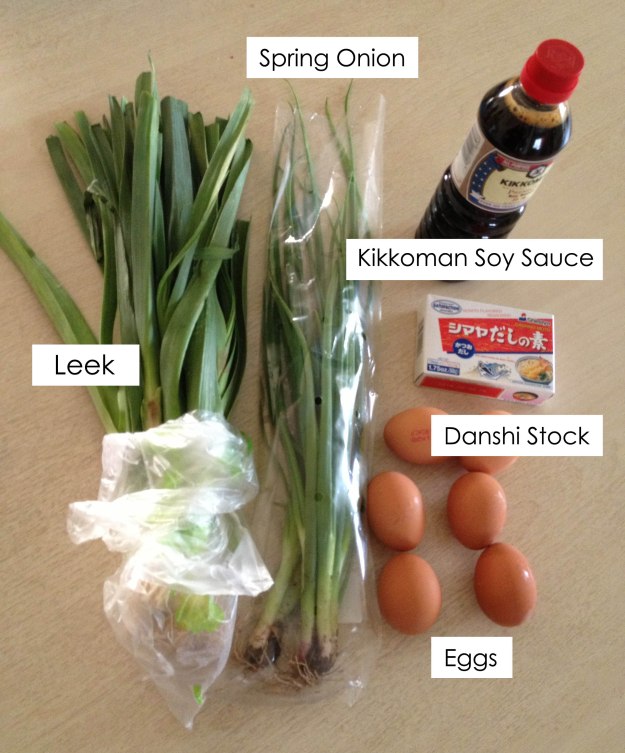
8 Eggs
5 cloves Garlic
Ginger
A little sesame oil
Dashi stock
Kikkoman Premium Soya Sauce
Water
Spring Onion
Leek (use only the green parts)

Some ingredients for the ajitama

Some ingredients for the ajitama

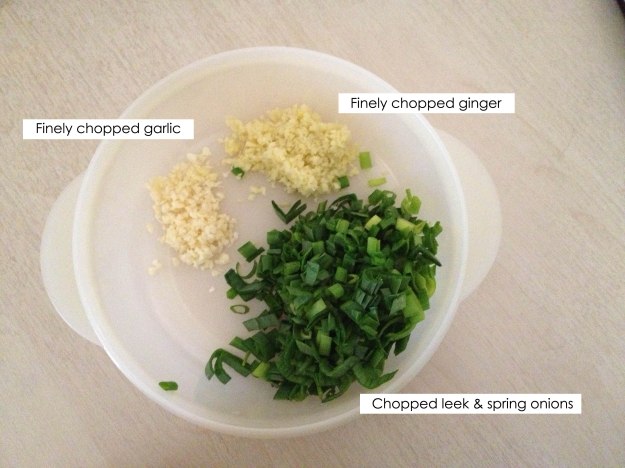
Finely chopped the garlic and ginger. Chopped the spring onion and leek ( Use only the green ‘leafy’ part). Place them all in a tupperware not too deep yet yet enough to cover your eggs. Some recipes uses only soy sauce but i was trying out Ramen Walker sauce recipe includes leeks and all to add flavour to the bath.

To create the sauce bath for eggs to swim in

To create the sauce bath for eggs to swim in

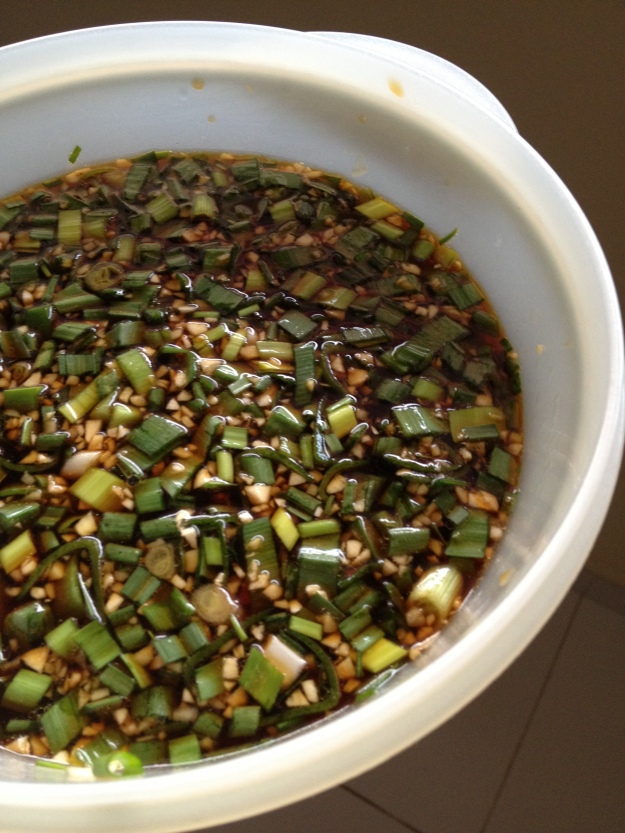
Sprinkle a dash of danshi stock and add a dap of sesame oil as you wish for a better taste. The ratio of water to Kikkoman Soy Sauce is 3 : 1 meaning for every 150ml of water, you need 50ml of soya sauce.

Soy sauce pool

Soy sauce pool

The sauce bath is ready for our eggs to swim in! Now comes the most critical part, the cooking of the eggs! We have to be really careful here with the time else we end up with flavoured hard boil eggs instead.

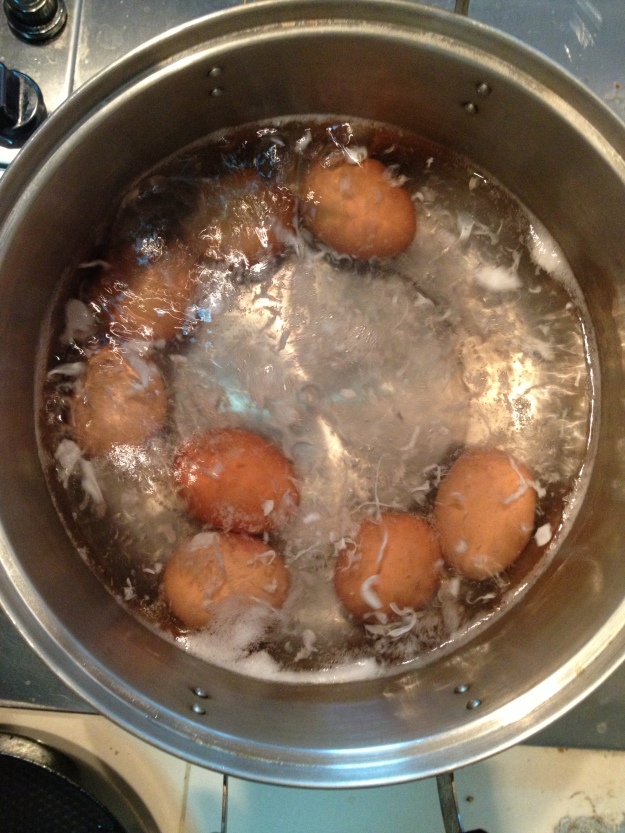
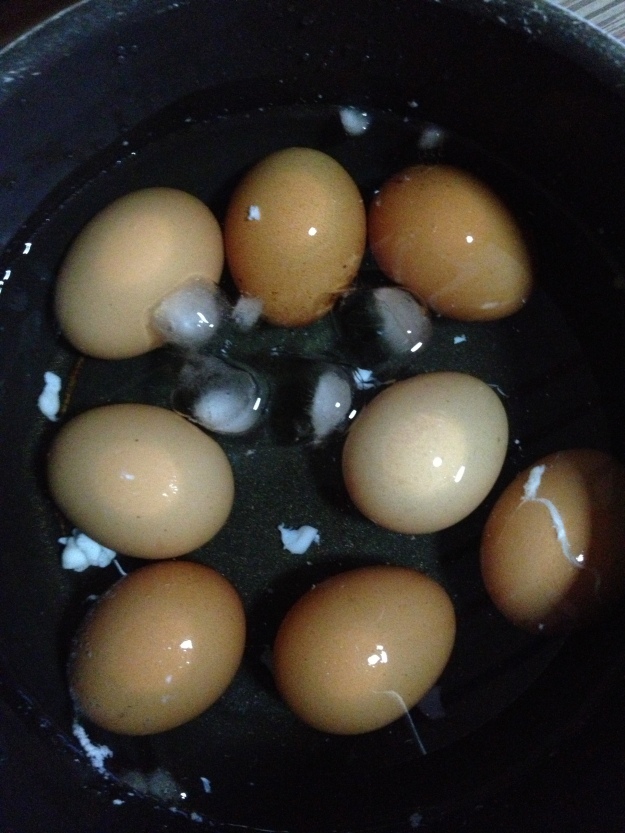
Heat up a pot of water. Wait for it to boil. When its boiling (meaning the water is bubbling) , drop the eggs in. To be safe, mascot and i tested with 1 egg first, we took it out after 5:30 mins in the boiling water (Singapore eggs are slightly smaller so you really should not leave it in for too lon) and drop it into the icebath. The first one was a success with a runny yolk center! We dropped the remaining 8 eggs into the pot. This time we waited 5:40mins for it to cook as there were more eggs.

Cook the eggs in boiling water

Cook the eggs in boiling water for 5:40mins.

Prepare the ice bath. Dish the eggs out after 5:40mins and cool in in the ice bath to stop the cooking process (Tip: Add 1-2 teaspoon of vinegar to the icebath for easy peeling of the eggs)

Cool the eggs in ice bath

Cool the eggs in ice bath. Most of my ice melted.

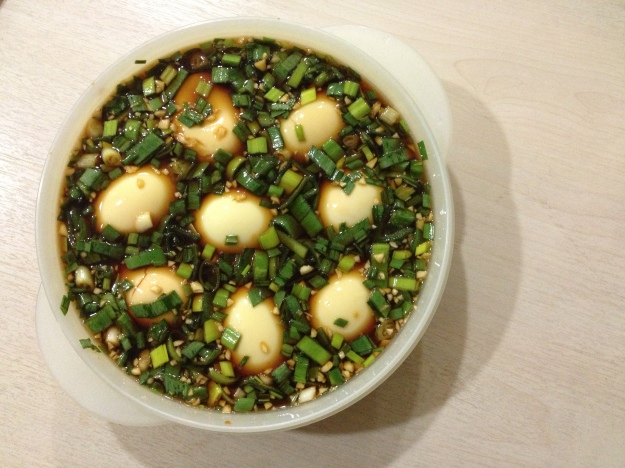
Peel the eggs carefully to avoid breaking them. You roughly can tell if your eggs is semi cooked as you peel them, you can feel their swooshy center. Last step, let the eggs swim in the sauce pool, tada!

2013-06-23 19.27.50

You will need to soak them for some days. Recommended is 3 days.  The eggies will float up no worry, they will submerge after u cover the lid (or at least mine did) else gently rock them side to side with lid on to make sure the egg is evenly coated when you check on them each day. Cant wait for the 3 days to pass!

.

.

.

.

3 days later..

Nicely coated a sheen of brown.

Nicely coated a sheen of brown.

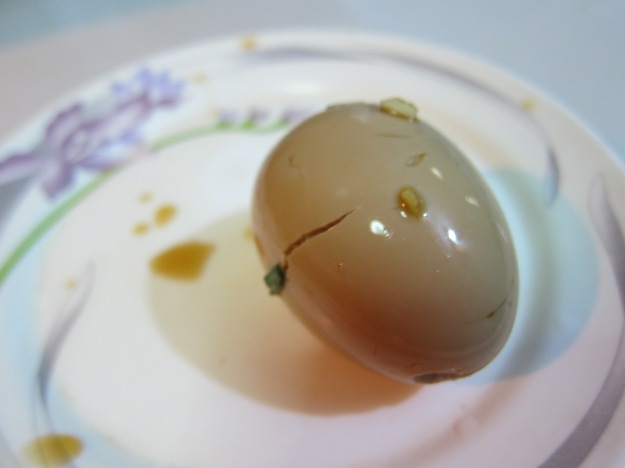
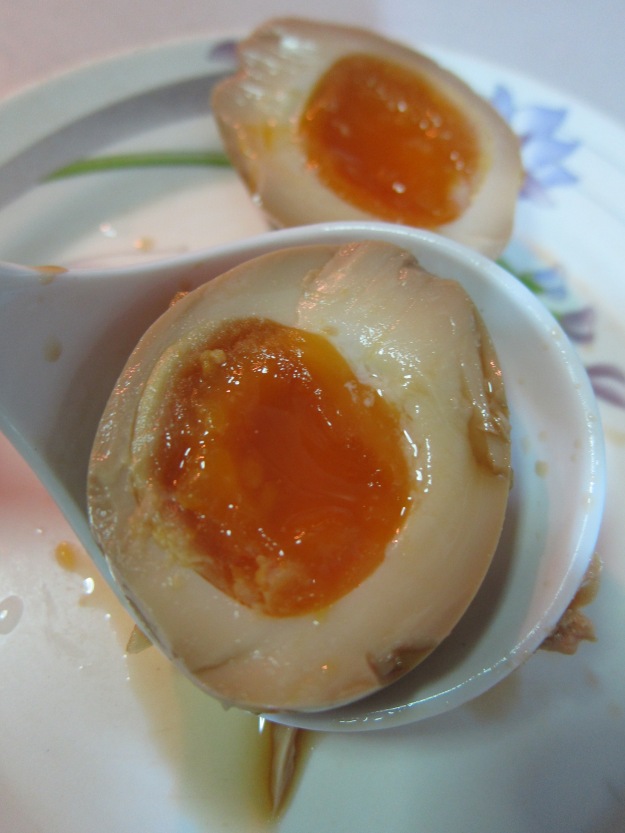
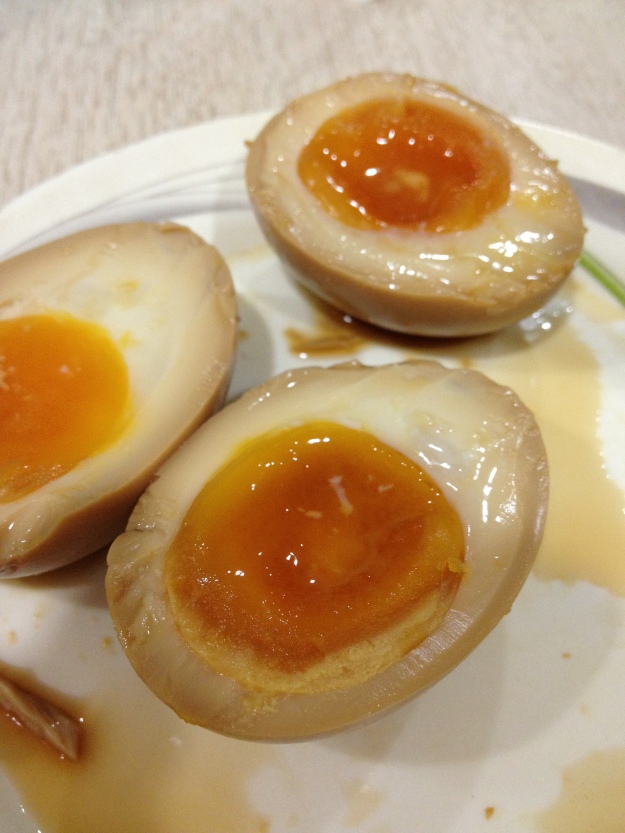
Yays!! Finally.. it really to be eaten. Look at how evenly coated the eggs are. I open one up and wow.. Its kinda perfect.. Ps. I cut using a knife so it looks kinda jagged. A good way to half it would be using fishing line so the edges will be smooth.

Pretty ajitama!

Pretty ajitama!

Looks good yea! the watery yolk.

Looks good yea! the watery yolk.

Here is more eggs!

Here is more eggs!

Its time to know whether the taste matches the look. One bite and…. colour goes out of my face. ITS FREAKY SALTY. Its like you just dump a whole ball of salt into your mouth!!! Omg i need to edit the recipe. Maybe instead of 1:2, the ratio of the soy sauce to water. It should be   1:4 or even 1:5. And soak for perhaps just two days? three days is too much! HMPHHH!! i need to experiment again to perfect it. I shall do attempt 2 this coming friday. Till then!

ATTEMPT 2

The eggs i used were fresher this time and i realised its much harder to peel than the previous round. Therefore, for easy peeling, use eggs approx 1 wk old.